/v1/query
Rate Limiting
The Logs API enforces rate limiting to ensure optimal performance and resource allocation:
- Daily Limit: 500 queries per client id per day
- Rate Reset: Limits reset at midnight UTC
- Quota Increases: Contact CM Support for higher daily quotas if your use case requires additional capacity
Usage
The v1/query endpoint is used to retrieve ATR billing data. This includes:
- Ticket count for a domain_name over a given time range
- Billing metadata for the particular domain name
Step-by-step guides for non-technical users are provided below.
Non-Technical Guide - Windows
Step-by-Step Guide for Windows Users
Prerequisites
- PowerShell access
- Your client_id and client_secret credentials
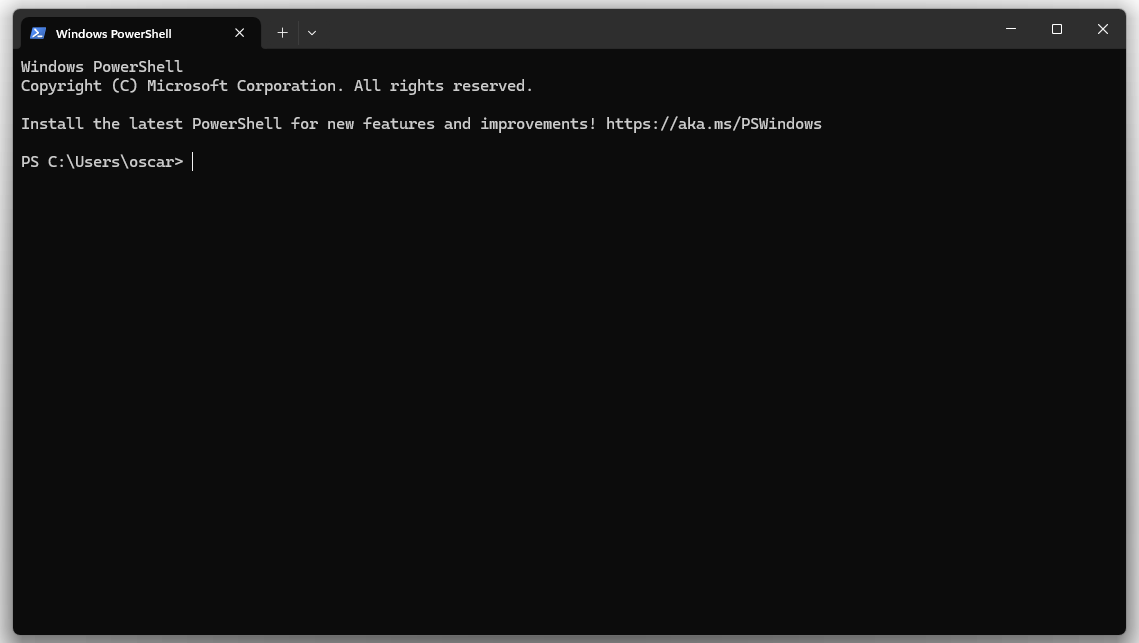
Step 1: Launch PowerShell
Open PowerShell by searching for "PowerShell" in the Start menu. Verify that PowerShell is running by checking the window title displays "Windows PowerShell".
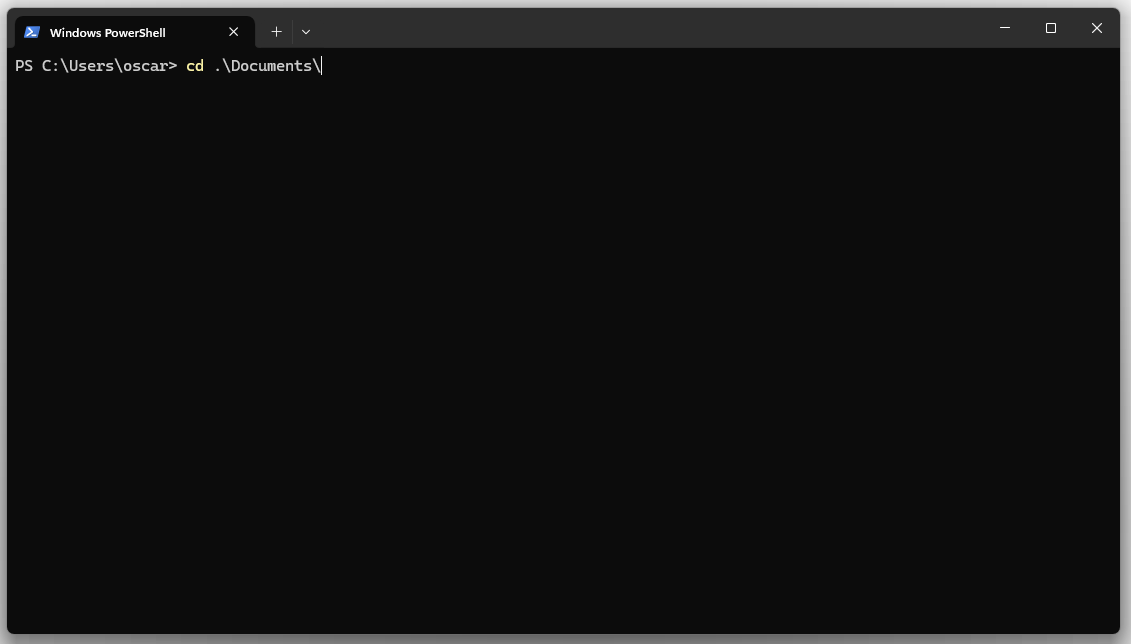
Step 2: Navigate to your working directory
Choose a location to store your API script. This example uses the Documents folder, but you may select any preferred directory.
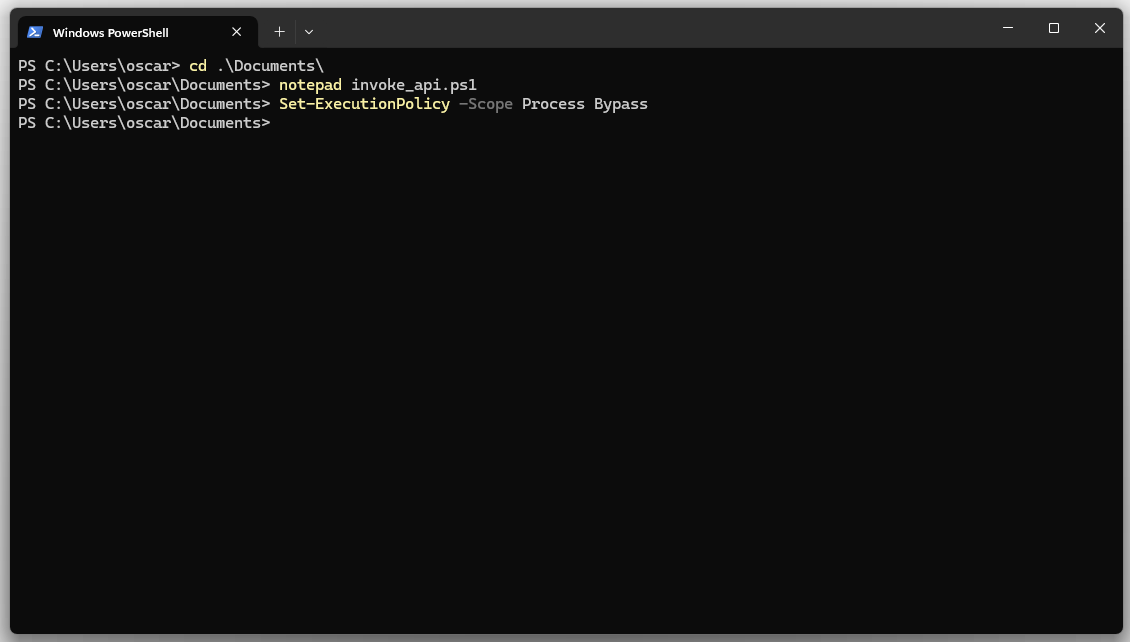
Execute the following command: cd .\Documents\
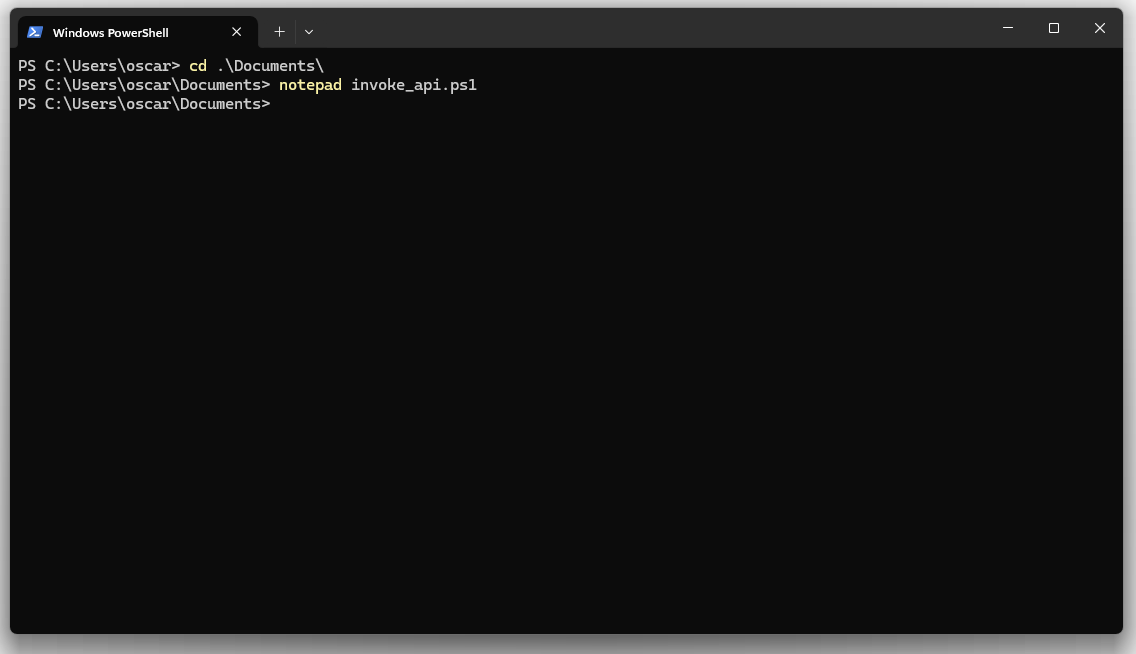
Step 3: Create the PowerShell script file
Execute the following command to create and open a new PowerShell script: notepad invoke_api.ps1
When prompted to create a new file, click 'Yes' to proceed.
Step 4: Add the API script content
Copy the following PowerShell script and paste it into the Notepad editor. This script handles authentication and API communication with the Central Monitoring query endpoint.
# Get JWT Token
function Get-JwtToken {
$url = "https://central-monitoring-external-api-prod.auth.ap-southeast-2.amazoncognito.com/oauth2/token"
$body = @{
grant_type = "client_credentials"
client_id = "client_id" # <-- replace with your client ID
client_secret = "client_secret" # <-- replace with your client secret
scope = "central-monitoring-external-api-prod/read"
}
$headers = @{
"Content-Type" = "application/x-www-form-urlencoded"
}
try {
$response = Invoke-RestMethod -Uri $url -Method Post -Headers $headers -Body $body
return $response.access_token
} catch {
Write-Host "Error getting token: $($_.Exception.Message)" -ForegroundColor Yellow
exit 1
}
}
# Test API
function Invoke-Api {
$token = Get-JwtToken
Write-Host "Got token: $($token.Substring(0,50))..."
# Save token to file
$token | Out-File -FilePath "output.txt" -Encoding utf8
$url = "https://central-monitoring-prod.mywizard-aiops.com/v1/query"
$headers = @{
"Authorization" = "Bearer $token"
"Content-Type" = "application/json"
}
$payload = @{
domain = "domain_name.atrmywizard-aiops.com" # <-- replace with your domain
time_range = "now-1M" # <-- replace with your time_range
} | ConvertTo-Json
try {
$response = Invoke-RestMethod -Uri $url -Method Post -Headers $headers -Body $payload
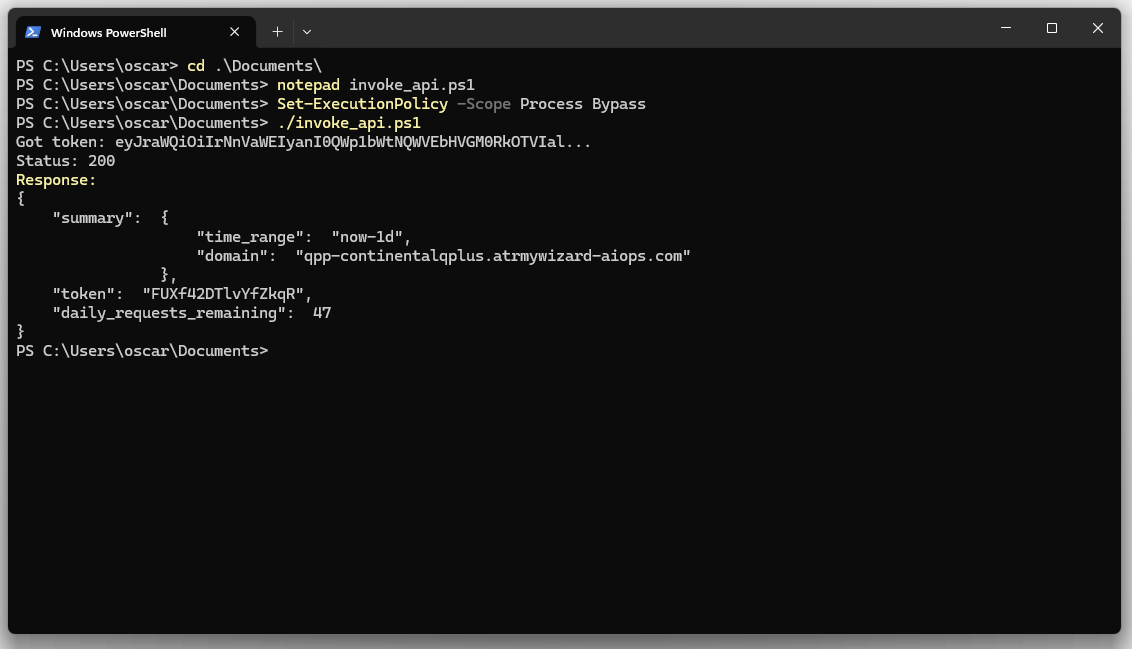
Write-Host "Status: 200"
Write-Host "Response:" -ForegroundColor Magenta
$response | ConvertTo-Json -Depth 10
} catch {
if ($_.Exception.Response) {
$status = $_.Exception.Response.StatusCode.value__
$stream = $_.Exception.Response.GetResponseStream()
$reader = New-Object System.IO.StreamReader($stream)
$body = $reader.ReadToEnd()
Write-Host "Status: $status"
Write-Host "Response: $body" -ForegroundColor Magenta
} else {
Write-Host "Error: $($_.Exception.Message)" -ForegroundColor Yellow
}
}
}
# Main
Invoke-Api
Step 5: Configure your credentials and parameters
Locate the placeholder values within the script for client_id, client_secret, domain, and time_range. Replace these with your actual API credentials and query parameters.
Save the file using Ctrl+S and close the text editor.
Time format examples:
time_range needs to be in OpenSearch format, these are examples of what the payload time_range expects.
Format:
start_date-end_date

Examples:
now-1d      # For ticket count for the last day
now-2d      # For ticket count for the last 2 days
...
now-1w      # For ticket count for the last week
now-2M      # For ticket count for the last month
now-1y      # For ticket count for the last year

now-2d-3d # For ticket count from 2 days ago to 3 days ago
Step 6: Enable script execution
Execute the following command to allow PowerShell script execution for this session: Set-ExecutionPolicy -Scope Process Bypass
Step 7: Execute the script
Run the PowerShell script with the following command: ./invoke_api.ps1
Troubleshooting
- Execution Policy Error: If you receive an error like "cannot be loaded because running scripts is disabled on this system", you need to enable script execution. Refer to Step 6 to run the
Set-ExecutionPolicy -Scope Process Bypasscommand.
Non-Technical Guide - MacOS
Step-by-Step Guide for MacOS Users
Prerequisites
- Terminal access
- Your client_id and client_secret credentials
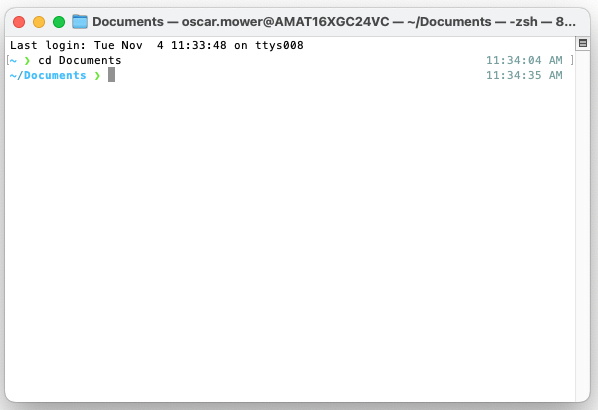
Step 1: Launch Terminal
Open the Terminal application by searching for "Terminal" in Spotlight or navigating to Applications > Utilities > Terminal.
Step 2: Navigate to your working directory
Choose a location to store your API script. This example uses the Documents folder, but you may select any preferred directory.
Execute the following command: cd ~/Documents

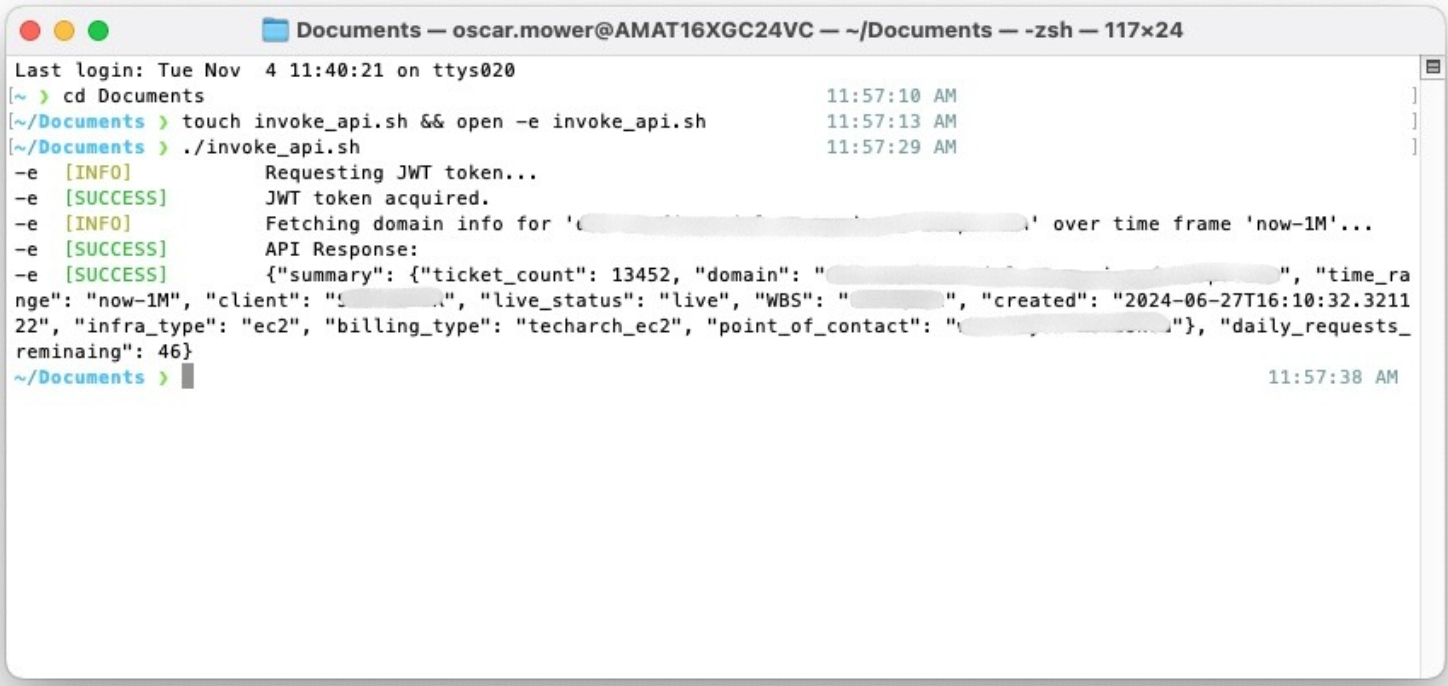
Step 3: Create the shell script file
Execute the following command to create and open a new shell script: touch invoke_api.sh && open -e invoke_api.sh
This will open the default text editor with your new script file.
Step 4: Add the API script content
Copy the following shell script and paste it into the text editor. This script handles authentication and communication with the query endpoint.
#!/bin/bash
set -e

###################################################
####### INPUT: AREA TO INPUT API VARIABLES  #######
### Fill in the parameters below before running ###
###################################################

CLIENT_ID="INSERT_CLIENT_ID"
CLIENT_SECRET="INSERT_CLIENT_SECRET"
DOMAIN_NAME="INSERT_DOMAIN_NAME"
TIME_RANGE="INSERT_TIME_RANGE"

###############################################
#     === DO NOT EDIT BELOW THIS LINE ===    #
###############################################

YELLOW="\033[33m"
GREEN="\033[32m"
RED="\033[31m"
NC="\033[0m"

# Step 1: Get JWT token
printf "%b [INFO]  %b Requesting JWT token...\n" "$YELLOW" "$NC"

JWT_RESPONSE=$(curl -s -X POST "https://central-monitoring-external-api-prod.auth.ap-southeast-2.amazoncognito.com/oauth2/token" \
  -H "Content-Type: application/x-www-form-urlencoded" \
  -d "client_id=${CLIENT_ID}" \
  -d "client_secret=${CLIENT_SECRET}" \
  -d "grant_type=client_credentials")

# Extract token
JWT_TOKEN=$(echo "$JWT_RESPONSE" | grep -o '"access_token":"[^"]*"' | sed 's/"access_token":"//;s/"//')

# Validate token
if [ -z "$JWT_TOKEN" ]; then
  printf "%b [ERROR] %b Failed to retrieve JWT token.\n" "$RED" "$NC"
  printf "%b [ERROR] %b Response: %s\n" "$RED" "$NC" "$JWT_RESPONSE"
  exit 1
fi

printf "%b [SUCCESS] %b JWT token acquired.\n" "$GREEN" "$NC"

# Step 2: Query the API with JWT
printf "%b [INFO]  %b Fetching domain info for '%s' over time frame '%s'...\n" "$YELLOW" "$NC" "$DOMAIN_NAME" "$TIME_RANGE"

# Build JSON request body
REQUEST_BODY=$(cat <<EOF
{"domain":"$DOMAIN_NAME","time_range":"$TIME_RANGE"}
EOF
)

API_RESPONSE=$(curl -s -X POST "https://central-monitoring-prod.mywizard-aiops.com/v1/query" \
  -H "Authorization: Bearer ${JWT_TOKEN}" \
  -H "Content-Type: application/json" \
  -d "$REQUEST_BODY")

printf "%b [SUCCESS] %b API Response:\n" "$GREEN" "$NC"
echo "$API_RESPONSE"
Step 5: Configure your credentials and parameters
Locate the placeholder values within the script for client_id, client_secret, domain, and time_range. Replace these with your actual API credentials and query parameters.
Save the file using Cmd+S and close the text editor.
Time format examples:
time_range needs to be in OpenSearch format, these are examples of what the payload time_range expects.
Format:
start_date-end_date

Examples:
now-1d      # For ticket count for the last day
now-2d      # For ticket count for the last 2 days
...
now-1w      # For ticket count for the last week
now-2M      # For ticket count for the last month
now-1y      # For ticket count for the last year

now-2d-3d # For ticket count from 2 days ago to 3 days ago
Step 6: Execute the script
Make the script executable and run it with the following commands:
chmod +x invoke_api.sh
./invoke_api.sh